
This is how my Asylum corridor turned out. I went with a green colour scheme for the walls with a yellowish plaster and green bricks along the bottom, I tried to match that slightly with the windows and the lighting. I populated the corridor with a bent mattress and an empty bed frame along with a wheelchair which is sat at the other end. I added in a radiator to break up the middle along with the vents on the ceiling and opened a door which leads to an empty cell with a single bed. I added ceiling lights and piping to add that little bit more to the scene. There is also a small exit sign above the double doors. I tried to go with my own style based on research I did on existing Asylums. Instead of copying completely I tried to mix square with arched. For example I have arched windows, yet I have square cell doors and frames. Looking back now I don't think it was my best idea but I don't think it hurt the overall outcome too much.
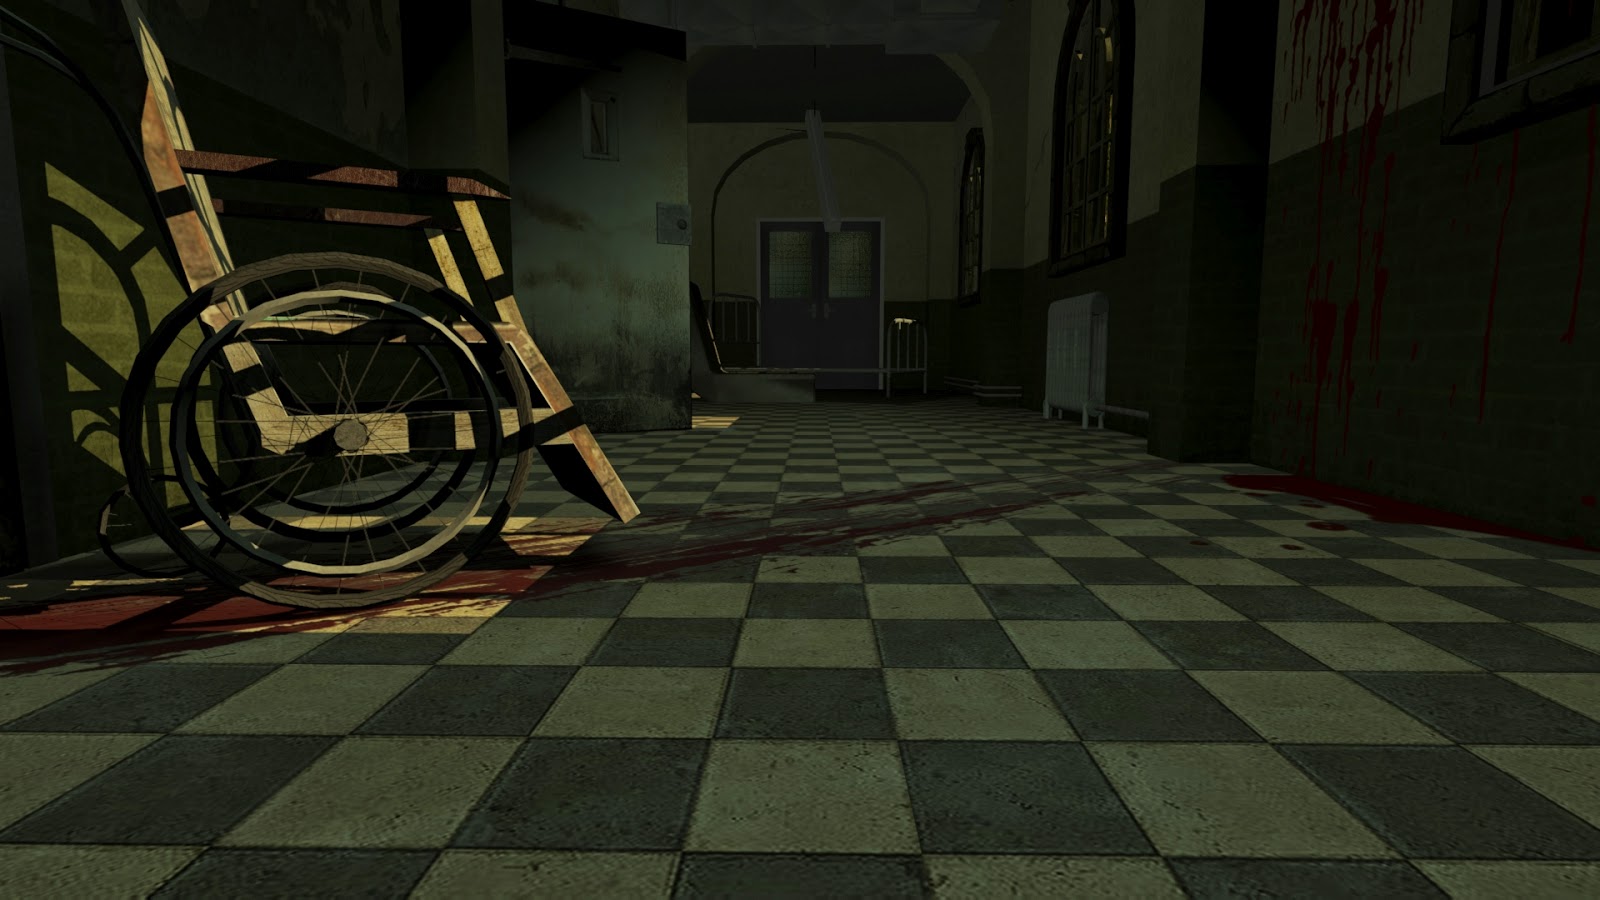
This is a render from the other end of the corridor and here you can see the wheelchair and a smear of blood. To make a the blood I took an image of blood smear and then darkened it in Photoshop and cut out the image saving it as a diffuse. I then made a separate version and made it bright white and saved it as a specular. I made a normal map and then re-added the diffuse texture as a specular colour map I then added a ray trace in the reflection map section to and added the opacity map as a mask for it.

This is a view from inside the cell and here you can see the bed and some more blood splatters with some words written in blood. The blood on the left is supposed to be where the patient that stayed in this cell has repeatedly head butted the wall,

Here is the same sell from another view. Here you can see the writing better. There is a crack on this wall too and you can see that there is a splatter of blood on the door too.

This is from the corridor just outside the open cell door. Here you can see that someone has drawn a smiley face in blood.

Here is a radiator that was added across from the open cell to even out the composition and the layout of the room. I added some cracks and pipes to finish off some minor details.

Here is another look at the end doors and the wheelchair.

This is the last render which is situated at the other end of the corridor and here you can see the empty bed frame and the dirty old bent mattress.


